Y’all loved the Stoney Clover Dupe DIY so much that I decided to do something similar! I have made a Judith March Dupe DIY and I am going to share how I did it! It was not hard to do and I had fun making it! You are going to pay way less than buying it from the website. These also make great gifts! You could make them for your family, bachelorette party, birthday parties, and more!
P.S. Christmas is right around the corner! Check out 13 Gift Guides for the Girly Girl and 30+ Gift Ideas for him!
Step 1: Choose your layout
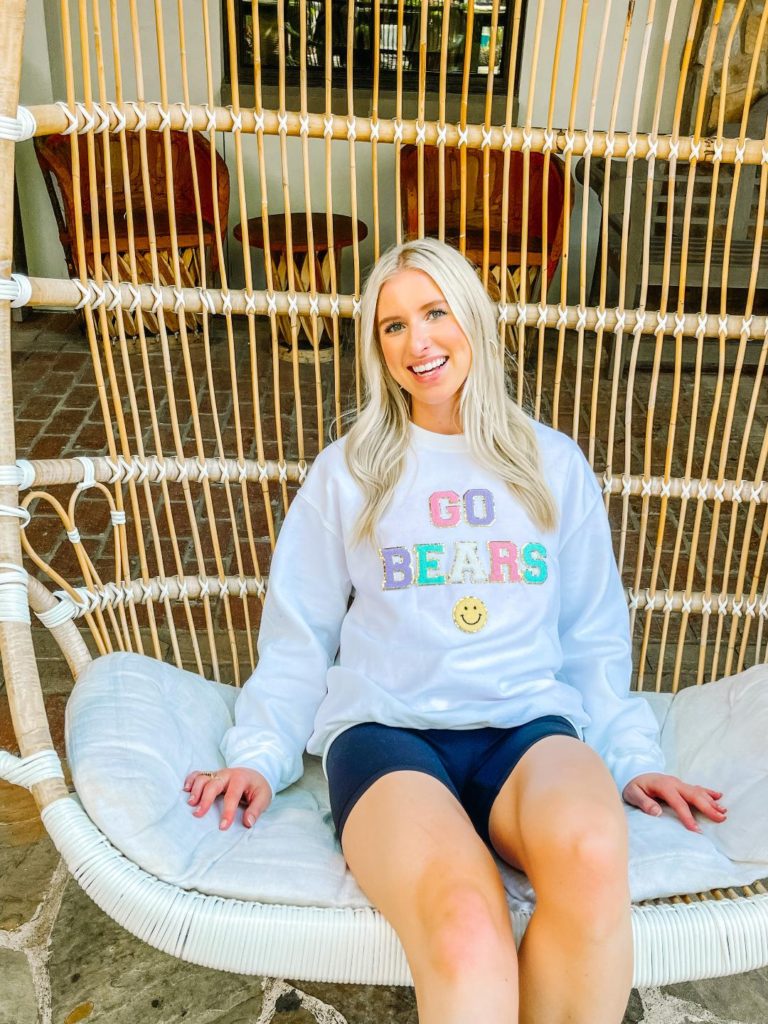
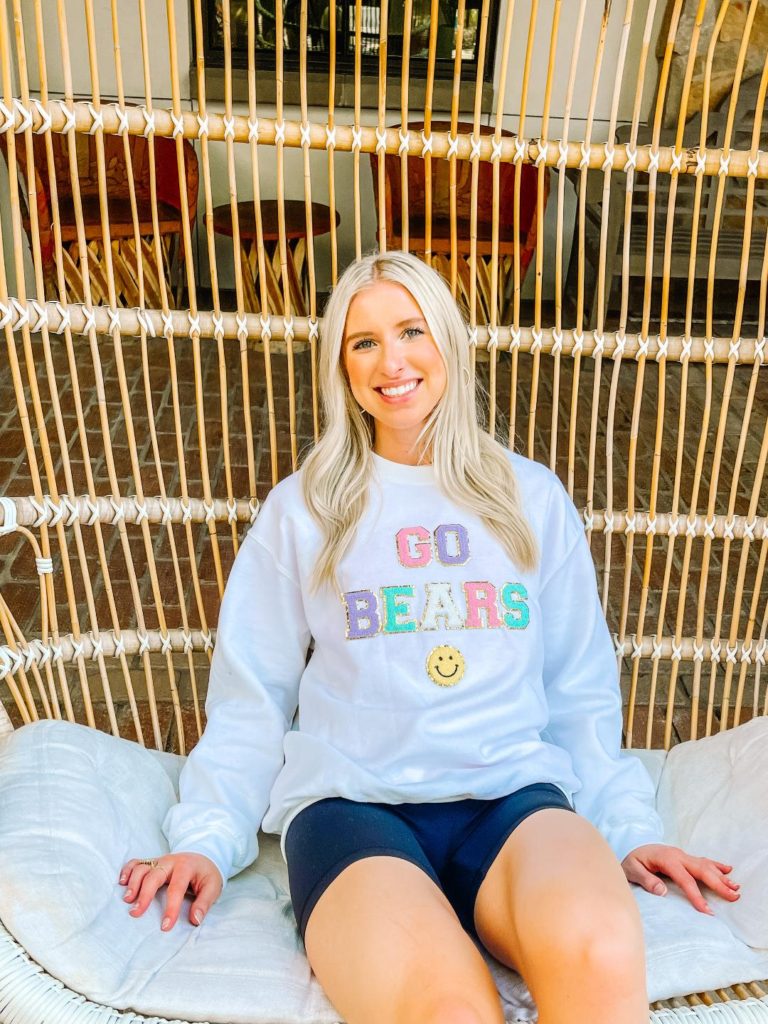
For my letters, I chose to do my school’s mascot (sic em bears), but you can do anything! Some ideas:
- Disney Themed
- Your school’s mascot
- Wedding/Bachelorette themed: “Wife”/”Mrs”/”Future Mrs. __”
- Lyrics from your favorite song (“All my ex’s live in Texas”)
- Lake themed (“Lake Bum,” etc.)
- A city/state (i.e. “Dallas”)
- Name/Monogram
- 4th of July themed
- Mom themed: “Dog Mom,” “Soccer Mom,” etc.
After you choose what you want it to say, you are going to want to think about what colors/layout you want for your patches. Do you want everything to be the same color? All different colors?
TIP: I used Canva to make and visualize the layout of my sweatshirt to make sure the colors looked good together. I took a screenshot of the sweatshirt and letters and then did a DIY graphic design of what the sweatshirt would look like. This is what my design looked like (not the prettiest graphic design but gives you a good idea).
Step 2: Buy your supplies
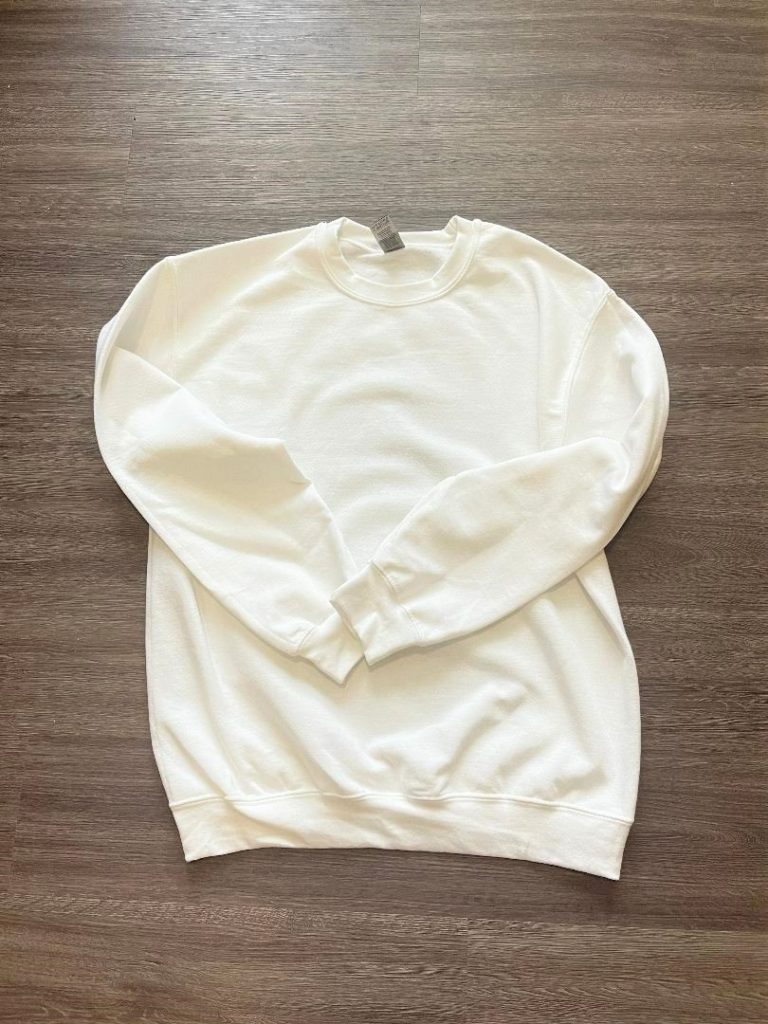
I got the sweatshirt off of Amazon and bought one size up so it would be a little oversized and the letters and smiley face patch are from Etsy (*tip: make sure they are iron on). I used to work for a custom apparel company so I know a lot when it comes to buying shirts/sweatshirts. If you want a quality sweatshirt for a low price, then Gildan is for you. I have several Gildan sweatshirts that have been washed over and over again and have held up good as new (*I don’t put them in the dryer; just air dry). If you are looking for a higher end sweatshirt (made extremely well and very pigmented) and willing to pay more then I would buy Comfort Colors. I chose to put the letters on a sweatshirt, but you could do a tank top, t-shirt, lounge set, joggers, etc. I will link a bunch of options:
Apparel options-
Sweatshirt: Option 1, Option 2, Option 3, Option 4, Option 5, Option 6, Option 7
Button Down: Option 1
Joggers: Option 1

Letters/patches options-
Letters: Option 1 (what I purchased) , Option 2, Option 3
Smiley Face: Option 1 (what I purchased), Option 2
Lightning bolt: Option 1
Heart: Option 1
Step 3: Iron on your patches


- Before you start ironing, you should test a small portion of your apparel to ensure that it does not create a burn mark (I had no problems with my sweatshirt, but it is always good to be safe). Simply, flip the apparel inside out and test a small portion.
- Once you do that, you might want to iron the piece of apparel before you put on the patches (my sweatshirt came wrinkled so I did this step first).
- When you are happy with how the apparel looks, layout your patches. I used a ruler to make sure that everything was straight and precise.
- After you have the letters where you want them, take a towel (I just used a dish towel) and carefully place it over the letters making sure to not move any of them. Once the towel is over the letters, then you can start ironing over the towel (the towel adds a layer of protection). I went over my letters for several minutes with the iron using the steamer button a couple of times. You can lift the towel and check to see if the letters are sticking, but I would be very generous with how much you iron.
Step 4: Add an added layer of protection
While the letters/patches stick to the material once you have ironed them on, they need to be secured; otherwise, the ends will start to lift. I used some needle and thread to go around the edges of my letters. I have not picked up a needle and thread in years, but I promise it is so easy! I used this video as guidance. You want to make sure you choose a thread color that is the same as the patch or only sew in areas where the thread will not be shown. It is not a huge deal though because the thread is so hard to see.
You can get thread and a needle at Walmart for a $1. There are also cheap sewing kits on Amazon.
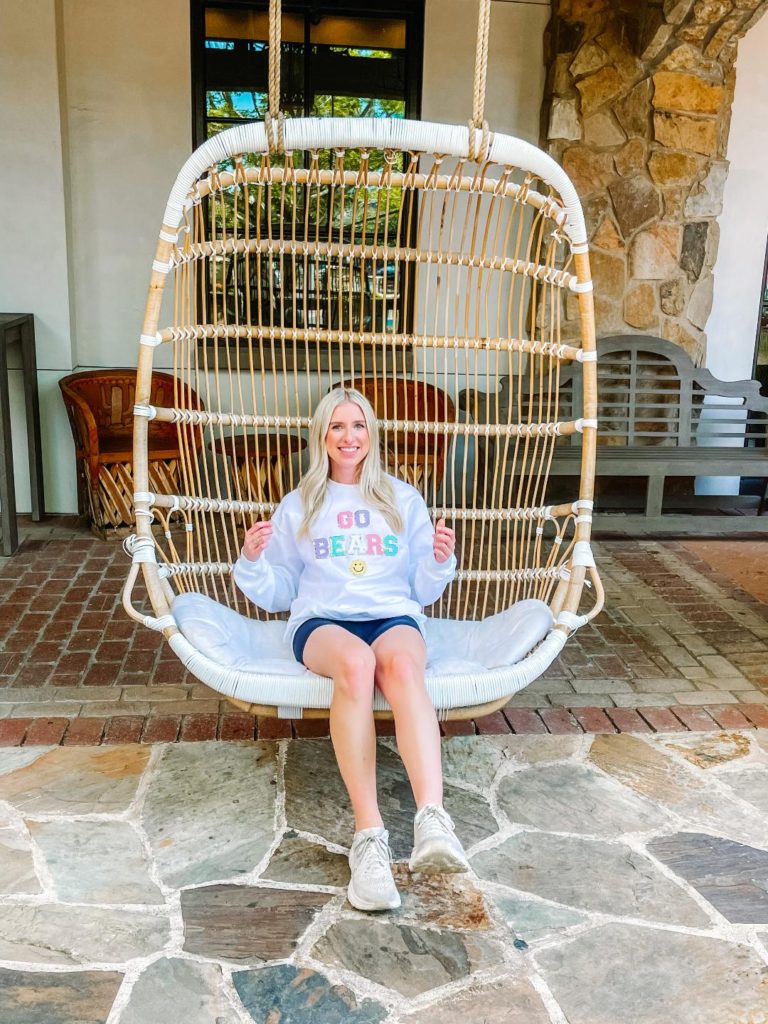
Step 5: Show off your apparel!
I am sure you will receive a ton of compliments on your new Judith March Dupe DIY! If you are looking for another DIY, check out how I made a Stoney Clover Dupe DIY! If you have any questions on any of the directions or something is not clear, feel free to reach out to me! You can use my contact form, comment on this post, or DM me on Instagram!
To be the first to know about a new blog post, subscribe to my newsletter!
Staying styled, southern, and sweet –
Casey